Showing posts with label Lessons Learned. Show all posts
Showing posts with label Lessons Learned. Show all posts
Valentine's Day Subway Art

If I were to sum this project up in one word it would be
flexibility. It didn’t go at all the way I had originally planned, but it still
turned out pretty neat in the end. And I even learned some valuable lessons along the
way.
I wanted to a project that involved my new Silhouette Cameo my husband got
me for my birthday and since I put my Valentine’s Decorations up this week. I
decided something pink was in order. I settled on a Valentine Subway Art
project.
Now, in the beginning, I had planned on doing a crackle
paint project. This is Plan A, and the supplies I gathered:

I gave the wood plaque a coat of the Americana Acrylic paint
in Carousel Pink and let it dry 24 hours. Then I applied the Martha Stewart Crafts
Fine Crackle Effect in smooth even strokes and let that dry and followed it with
a coat of Americana Acrylic paint in Warm White. Now…, if you have been
following the weather at all, Louisiana and most of the southern states have
been getting dumped on with rain. As a result, the LESSON I LEARNED the hard way,
this particular crackle effect medium does
not work in high humidity conditions.
So on to Plan B: I gave it ANOTHER coat of the Americana Acrylic
paint in Carousel Pink and let it dry and followed with a coat of Americana
Acrylic paint in Warm White. Nothing another coat of paint can’t fix, right!!! ;
) After it was dry I sanded the edges and distressed it up a little.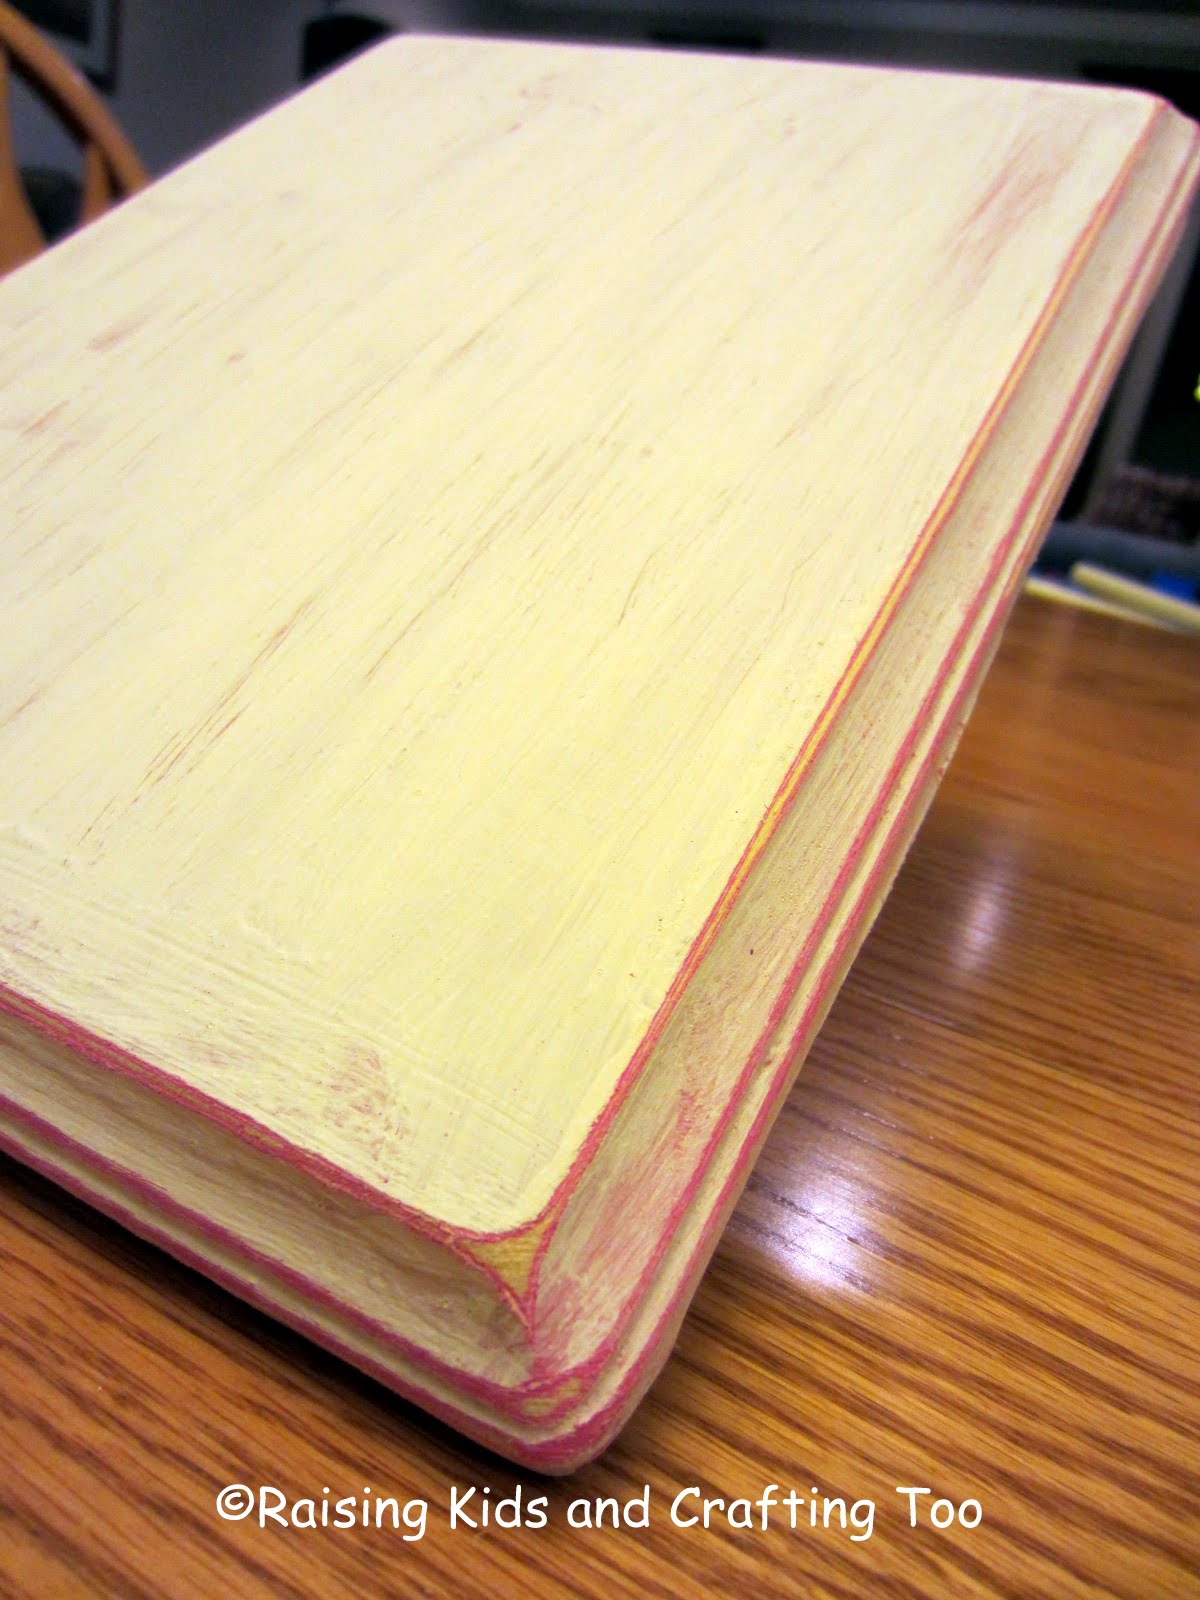
I found a file on the Silhouette website that I liked (hey, I’m
a rookie, I’m not about to create my own just yet) and cut it out. Let me tell you that
machine is ridiculous! Even my husband is in awe of the Cameo! It is so awesome! To quote Woody
from my son’s favorite movie Toy Story, “If you don’t have one, GET ONE!” hehehehe, I just love that movie :)
Once your letters are cut out, grab a cup of coffee, or
wine, diet coke whatever you like and pull up a chair because this part takes a
little bit of time. With a glue pen, attach the letters to your wood plaque using the images on the cutting mat as your reference.

Add a little Mod Podge and let it dry to seal everything up and give it a shine.
And there you have it! What do you think?

As always, thanks for stopping by and come back and see me
again!

"Upcoming Creations" Dry Erase Board

Well hello again all! Sorry I missed you last week. I was
enjoying some much needed family time while my parents were in town visiting
from Montana. I shut the door to the craft room and enjoyed every minute I
could with them. I don’t get to see them all that often, so it was absolutely
wonderful to have them here with my boys for the whole week!
Sadly, as it usually does, all good things must come to an
end. But, I’m back to work in the craft room now! And it was here that I realized that I needed
something to help keep me focused and track. I don’t know how other crafters
are, but this particular crafter has a
hard time staying focused on just one project at a time. I get so excited about
a project or have a great idea about something else and forget all about what I
am currently working on. Can anyone else relate to this? I decided to create a dry
erase board to help me organize my projects and project ideas.
If you want to
create one for yourself here’s what you will need:
Large Frame with Glass, Spray Paint, Poster Board,
Electronic Cutter, Hot Glue Gun and 4-5 Strings of Large Beads or Jewels

I used a frame that I found at Hobby Lobby in the clearance
rack. It was a great price, but I ended up having to get the glass cut specially
cut for it. LESSONS LEARNED: Make sure
you have a skilled technician cutting your glass. Check and double check it
before you leave the store. Mine came out uneven and crooked. I ended up having
to shave a fair amount off one corner side of the inside portion of the frame to make
the glass fit. It set me back a few hours on this project, but it’s a lesson I
had to learn the hard way I guess. :( Next, I primed it and spray painted it
golden yellow (my accent color in my craft room) and gave it a little
distressing love.

While the paint was drying, I used my Cricut to cut out the letters on vinyl that I adhered to poster board to put inside my frame.

In my mind, I thought this would be enough and that it would look fabulous at this point. Well… it didn’t. It was boring. It needed something else. I found some turquoise beads and added a little bling to the frame!

Much better! What do you think?
It hasn’t found a permanent home on the wall yet, (I can’t
decide exactly where I want it) but for now it is perched happily on top of my
sewing table.

Thanks for stopping by and checking out my lastest creation! There are many, many more to come!
Subscribe to:
Posts (Atom)

Let's Connect


Grab My Button

Featured On


Popular Posts
-
 What a week it has been in my house! I really don’t know which to tell you about first because I am so excited about both! I guess I’l...
 -
 Let the adventure begin! I am so very excited to FINALLY get this blog up and running! But I’m even more excited that I will be able to st...
 -
 As I transformed my home this week into a fall scene of yellows, oranges and reds, I learned two things. One: Leave floral arrangements ...
 -
 Happy Monday Everyone! I have been quite the busy lady in my craft room recently! I’m creating some great new things for the upcoming c...
 -
 If I were to sum this project up in one word it would be flexibility . It didn’t go at all the way I had originally planned, but it st...
 -
 Well hello again all! Sorry I missed you last week. I was enjoying some much needed family time while my parents were in town visiting ...
 -
 Ahh, I just love this time of year! Spring is in the air, so many holidays but so little time to craft! The story of my life recent...
 -
 Well I couldn’t very well have a beautiful sewing table sitting there all alone in my craft room without a worktable to match now could I?...
 -
 I'm sure many of you crafty folks out there are always looking for a new challenge. Me, I am no different. I kept seeing these beau...
 -
 This week’s post is a very exciting one for me! It may be it bit early for some to think about, but Christmas is right around the corner...
Some of My Favorite Blogs
-
four things | forty-six1 day ago
-
Hello world!3 months ago
-
Hello world!4 months ago
-
Shop Updates5 years ago
-
Moving On7 years ago
-
Herringbone wood plank accent wall10 years ago
-